Android
android development
dart language
development
flutter
flutter app development
flutter dart
flutter listview
ios apps
ios development
listview builder flutter
Create an Auto-Updating Dynamic Listview with Flutter


2. Create a folder called widgets inside the lib folder and create an active_users.dart file. This is where we are going to work:
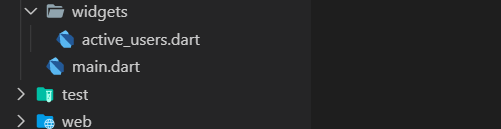
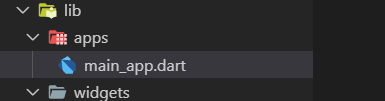
3. Also, create a folder apps, and inside it create a main_app.dart file:
4. Remove anything from the main.dart file, import the main_app.dart file and call your main app:
import 'package:flutter/material.dart';
import 'package:json_auto_refresh/apps/main_app.dart';
void main() => runApp(UsersApp());
5. This is great! Our Flutter Web App is coming to life! It might look like a lot of files/steps but this will be a structure of our app. Open the main_app.dart and add a stateless widget that will return our main widget app:
import 'package:flutter/material.dart';
import 'package:json_auto_refresh/widgets/active_users.dart';
class UsersApp extends StatelessWidget{
@override
Widget build(BuildContext context) {
return MaterialApp(
title: 'My Active Users Widget',
debugShowCheckedModeBanner: false,
theme: ThemeData(
fontFamily: 'Quicksand',
primarySwatch: Colors.purple,
),
home: ActiveUsersList(),
);
}
}
6. Open the web_upload.dart widget and create the ActiveUsersList Stateful widget. Copy the following code, and as you can see, we are returning a SafeArea with a body:
import 'package:flutter/material.dart';
class ActiveUsersList extends StatefulWidget {
@override
createState() => _ActiveUsersListState();
}
class _ActiveUsersListState extends State {
@override
Widget build(BuildContext context) {
// TODO: implement build
return SafeArea(
child: Scaffold(
appBar: AppBar(
title: Text('Active users list'),
),
body: Container(
child: Padding(
padding: const EdgeInsets.only(top: 16.0, left: 28),
child: new Container(
width: 350,
child: Column(
children: [
]
)
),
),
),
),
);
} }
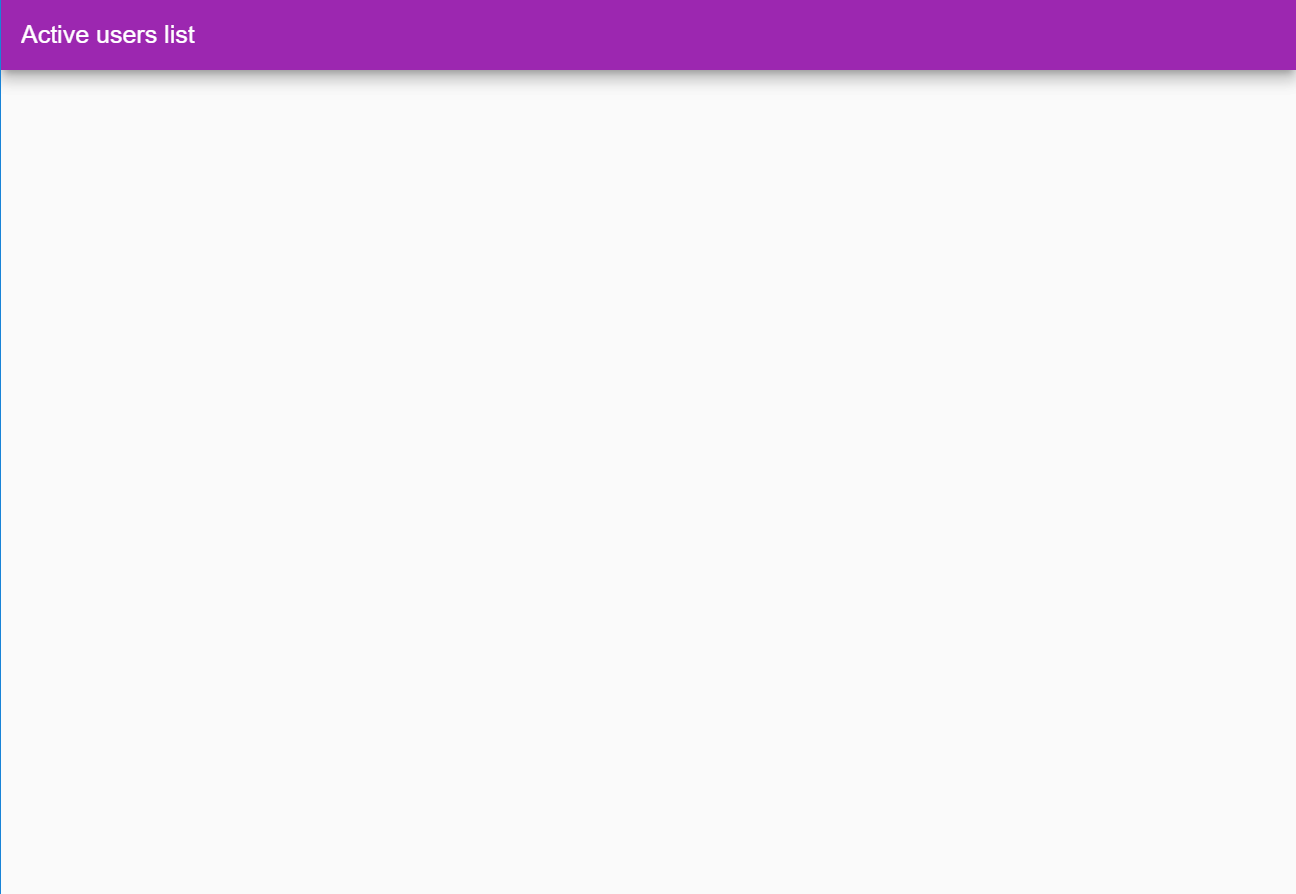
7. Sweet! Let’s see it working in the web browser:
8. Inside lib, create a models folder, and inside it, create a users.dart file:

9. Let’s create our UsersModel, which will help us build and use the active users list. Add the id, name, and userName and also a Map from Json:
class UsersModel {
int id;
String name;
String userName;
UsersModel(
this.id,
this.name,
this.userName,
);
UsersModel.fromJson(Map json)
json['id'],
name=json['name'],
userName = json['username'];
Map toJson() {
return {
'id': id,
'name': name,
'username': userName,
};
}
}
10. Import the user model:
import 'package:json_auto_refresh/models/users.dart';
11. Create an activeUsers variable, which will have our UserModels as list:
var activeUsers = new List<UsersModel>();
12. Before getting our users from an API, we must set up how are we getting the API first! In order to get the data from the API, add the HTTP package to your pubspec.yaml as a dependency:
http: ^0.12.0+2
14. Create an api folder, and inside it create a active_users_api.dart file:

15. Open the active_users_api.dart file, and import the async and http libraries:
import 'dart:async';
import 'package:http/http.dart' as http;
16. Create a const api_v1 variable which will hold the API URL:
const api_v1 = "http://apiexample.com";
17. Create a UserList class, and add a future function to get the Json list from the API:
class UsersList {
static Future getActiveUsers() {
var urlUsrList = api_v1 + "/users";
return http.get(urlUsrList);
}
}
18. Go back to the active_users.dart widget, and import the async and convert libraries:
import 'dart:async';
import 'dart:convert';
19. And create a future asynchronous function, that will get the json and will convert it to an iterable list, then as a map and finally it will pass it to the model to make it a list:
Future _getFromApi() async{
UsersList.getActiveUsers().then((response) {
setState(() {
Iterable list = json.decode(response.body);
activeUsers = list.map((model) => UsersModel.fromJson(model)).toList();
});
});
}
20. Let’s load the active users by calling the _getFromApi function when the widget is created:
initState() {
super.initState();
_getFromApi();
}
21. Go back to our widget, and let’s create a Listview builder. Inside an Expanded class, add an itembuilder and iterate over each element like this:
Expanded(
child: ListView.builder(
itemCount: activeUsers.length,
itemBuilder: (BuildContext context, i) {
return Column(
crossAxisAlignment: CrossAxisAlignment.start,
children: <Widget>[
SizedBox(height: 5),
Text(
"id: ${activeUsers[i].id}",
maxLines: 3,
overflow: TextOverflow.ellipsis,
),
SizedBox(height: 5),
Text(
"Name: ${activeUsers[i].name}",
maxLines: 3,
overflow: TextOverflow.ellipsis,
),
SizedBox(height: 5),
Text(
"Username: ${activeUsers[i].userName}",
maxLines: 3,
overflow: TextOverflow.ellipsis,
),
SizedBox(height: 15),
]);
},
),
),
If you notice, I add a SizedBox between each element, for visual purposes. Besides that, I do not need to convert the items to string, I just display them like this:
${activeUsers[i].name}
22. Finally, since we want the list to auto refresh, let’s add a Timer variable and a counter:
Timer timer;
int counter = 0;
23. Again, let’s load the timer before the widget is created. We will load users every 5 seconds (you can change that) by calling the _getFromApi function:
initState() {
super.initState();
_getFromApi();
timer = Timer.periodic(Duration(seconds: 5), (Timer t) => _getFromApi());
}
24. You can run it in the emulator or as a Web App with Chrome:
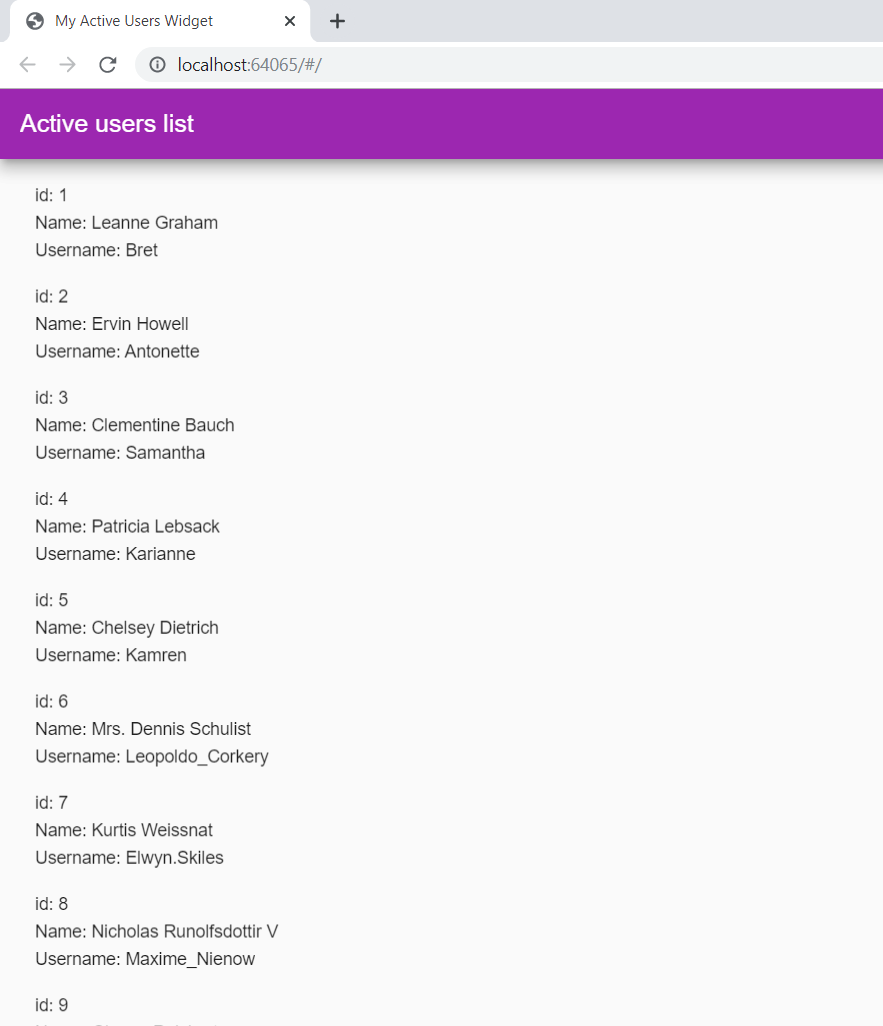

25. And that's it! You just created an auto-updating dynamic Listview with Flutter! If you have questions or suggestions, drop a comment!
You can get the source code here: https://github.com/rjcalifornia/json_auto_refresh


No comments
Post a Comment